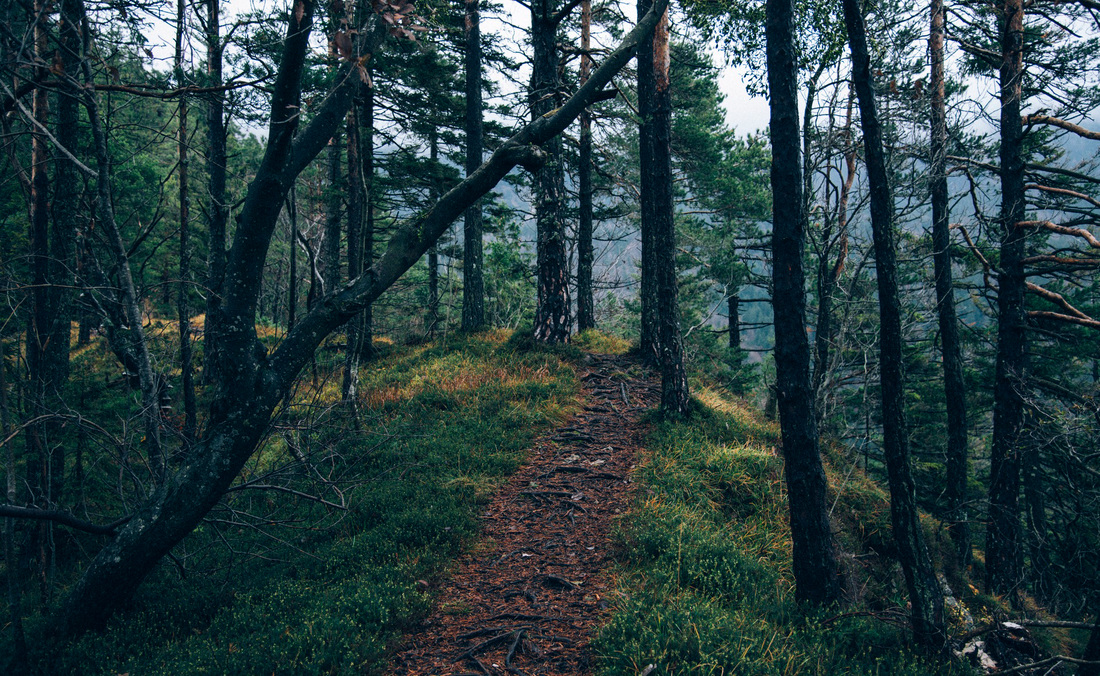
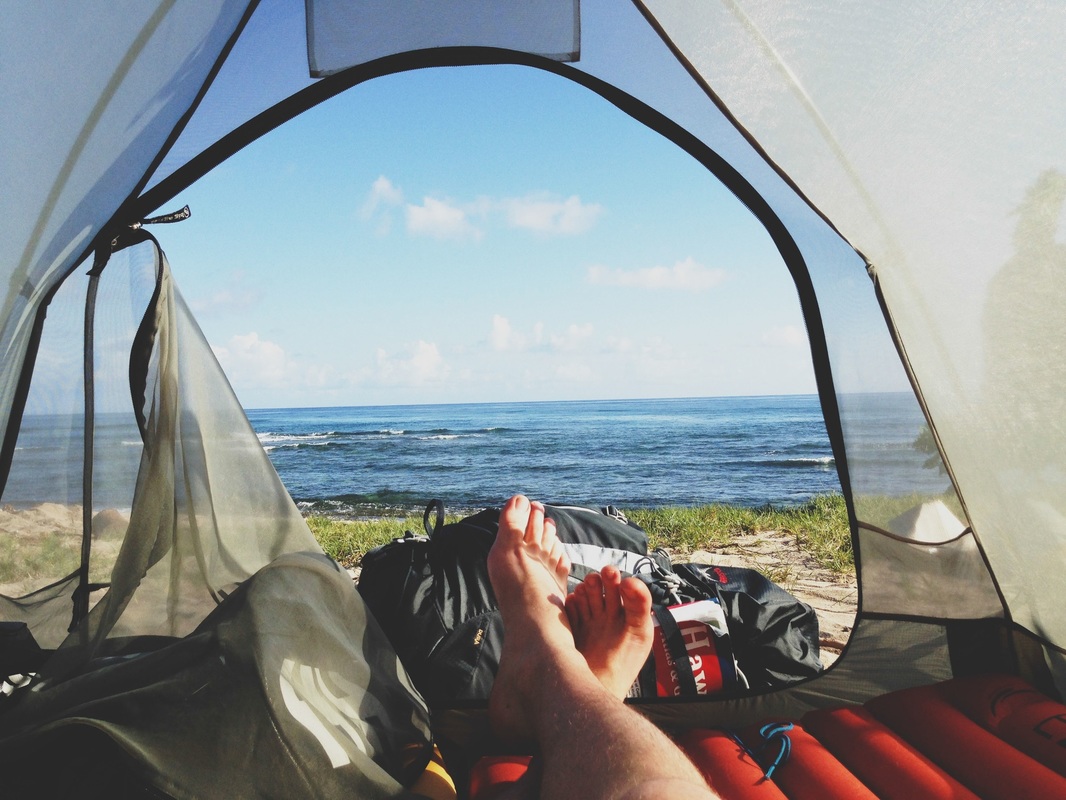
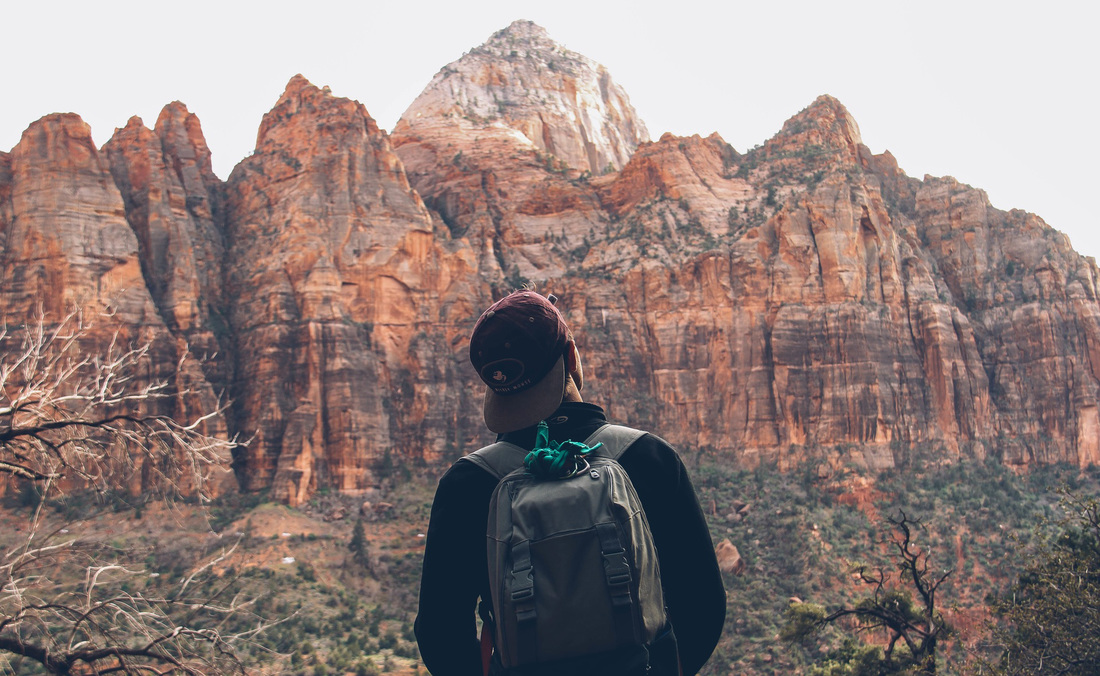
I'm James. This is my year of travel.

It will create a similar, but not identical, effect to the above Auto Color feature: Using the Auto Levels feature can adjust these setting automatically to improve the quality of the image. It is also possible that sometimes a picture can simply have too much of a certain color in it. The original image was very warm and orange looking and the Auto Color command cooled the image dramatically to create a perhaps more realistic looking picture. If you don't like the outcome, you can click Edit:Undo (Ctrl-Z) to undo the change. Photoshop will try to adjust the white balance to natural levels. With the file open, click Image:Adjustments:Auto Color. You can use the "Auto Color" feature to adjust this automatically. If an image seems too warm (too orange) or too cool (too blue) this generally means that the white balance is off. Luckily photoshop includes a lot of ways to correct these problems. These digital photo sources are still prone to the same issues of over or under-exposure, incorrect white-balance and hue problems. If your image is only slightly skew, then you can use the "Arbitrary" setting to rotate it by a specific number of degrees clockwise or counterclockwise.Ī lot of the time when getting images from digital cameras or scanners one may still encounter the same issues as you would if you had taken the photos with a film camera. Going to Image: Rotate Canvas will give options, all of them self explanatory to rotate your image. This can be rectified using the rotate tools: rotate canvas > 90° CCW]" height="282" width="258"> Many times you will take a photo with the camera sideways and need to rotate the image, or you will scan it in upside-down by accident. Secondly, make sure that the Resolution is set at 72 pixels/inch which is the standard for the web. Note, that while the Constrain Proportions box is checked, it will automatically adjust the height as you adjust the width and vice versa so as to keep the aspect ratio of the image correct. You can adjust the size of the image using the top two boxes for width and height. This will bring up the dialog box shown on the right. Once you have decided how big you would like your photo to be, go to the Image Size option in the Image menu (Left). However, if you plan on having it simply added as an element within your page, then you would make it considerably smaller, such as the pictures on this page. If you want it to be the focus of your web page, then you will probably want it to be relatively large. You should think about where you plan on placing your image in your web page. Open the image by using the File:Open command and selecting your image.īefore you do anything, to get an idea of the actual size of the image, click on the zoom box in the bottom left hand corner of the screen and adjust this value to 100% by typing in 100 and pressing the enter key. These instructions take into account that you already have an image to work with. Here we will go through a few of the basic steps that you will probably need to take before placing any images into a web page. For instance, you can use the Marquee Tool to select the part of the image to be desaturated (grayscale) while leaving the rest of the image in color (or whatever the original was).One of the most common uses for Adobe Photoshop is to prepare images for use on a web page. One advantage of the Desaturate command is the ability to perform this command on a specific area of the image. Use the keyboard shortcut: "Shift+Ctrl+U" to Desaturate the image.Choose Image > Adjustments > Desaturate or.When you desaturate an entire image you remove the color and create a grayscale image. Photoshop converts the colors in the image to black, white, and shades of gray.Ī color image is considered saturated with color. When asked if you want to discard color info, click OK.Citation Citationīelow are Methods for creating a grayscale image. 
In Adobe Photoshop CS4 and above there is an automated process for this, using other editing software a Black and White image must first be made for each color channel (RGB) and layered together to form a true B&W photograph. In order to convert a color digital image to Black and White each color channel (red, blue and green) Must be converted individually. A Black and White photograph is not a grayscale photograph, or a desaturated photograph.
0 Comments
Leave a Reply. |
AuthorWrite something about yourself. No need to be fancy, just an overview. ArchivesCategories |
 RSS Feed
